h1

Wax Painting: Student at the Library

August 7, 2023

I started a new painting using the Ceracolor wax paints I made recently. This is an image that I created from a photo of mine I took awhile back of a student at my local library who was intently reading a book in front of her. The surface is a mat board cut to 10.5 x 17.5 inches.

What we’re seeing at this point is the base undertone made from red oxide, cadmium yellow and titanium white paints that have been diluted in water into fairly thin washes. I’m using a small metal bowl as a palette since my paints will be mostly a range of just one main color. My intent will be to keep the final values fairly bright overall, but we’ll see how it goes.

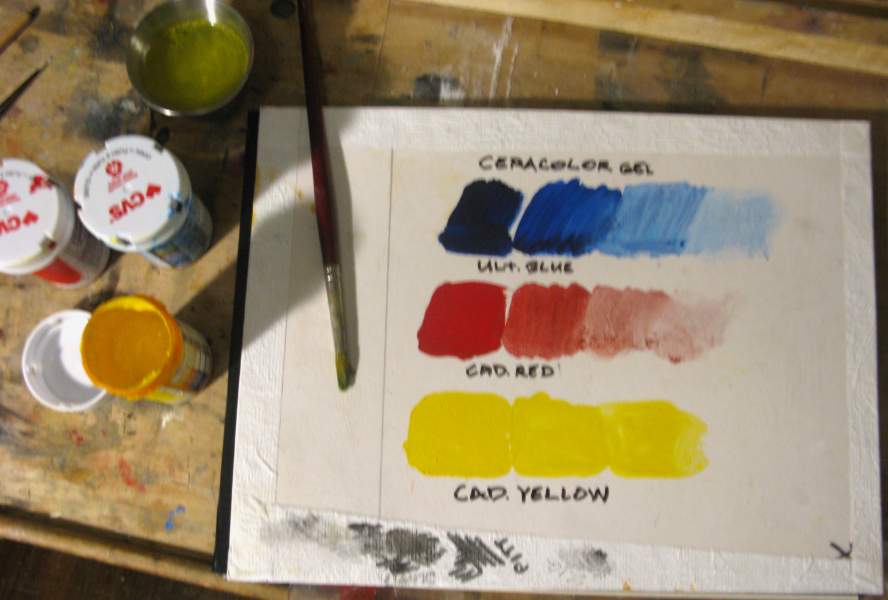
This was my first time using these paints, so I’m getting a feel for how they behave. I got to this stage in about 20 minutes or so, and the paints were completely set, ready to take another layer at this point, but I think I’ll let it rest awhile as I study it some. I used a stiff hog brush for most of the washes, and a smaller brush to control the detailed areas. The drying time feels much like acrylics. I did order some of their Retarder additive, and that should help slow the drying time done a bit. I was less concerned about the paint on my palette than I was cleaning my brushes, but warm water seemed to work fine.

h1

Ceracolor Wax Paint : Part 2

August 4, 2023

I made three more colors of wax paint with the Ceracolor Gel: red oxide, raw umber, and titanium white. This now gives me a basic set of six paints, about 1.5 to 2 ounces each, and I’ve got just a tiny bit of the gel left out of the 8 ounce jar. These swatches are painted on mat board, diluted with water. I painted the white over a black Prismacolor marker.

These three mixed up very easily in the gel using just a palette knife. The red oxide was a 1:2 part ratio, but the white needed equal amounts of pigment to get a similar consistency. I tried using an aqua-dispersion pigment for the raw umber, about a tablespoon to 2 tablespoons gel, but the water content made it too thin, so I bulked it up with some burnt umber powder and a little calcium carbonate. The white took only about an hour to set up dry to the touch, but the other two dried very quickly.

I think I might buy one or two of their paints to compare to these, and some of their Fluid Medium. I may also get their Retarder additive to extend the drying time on the palette. Looking forward to playing with these. You can get very thick with these paints, and that means you’d use up a lot of paint, so being able to make your own with the gel is a nice inexpensive way to get there.

h1

Making Ceracolor Wax Paint

August 4, 2023

Spent a little time yesterday mixing up some paint using the Ceracolor Gel medium I bought recently and some pigments I have. The process is very simple, and I like the results. The pigments I used so far are Ultramarine Blue, Cadmium Red and Yellow. I painted these swatches on a scratch piece of mat board, and used some pill bottles to hold the paint. I’ll likely make a white and umber color next.

I’ve noticed that the swatches dilute well when thinned with water into washes, but tend to bead up slightly the wetter they get. There’s also a little granularity that might be reduced with some mulling. With these I just mixed them into the medium with a palette knife. I used a ratio of 1 part pigment to 2 parts medium except for the ultramarine that needed 3 parts. I may buy some of their Fluid Medium for this product that could help prevent that beading up; although, that’s not really an issue for me. Once I mix up some more colors, I’ll do some modeling sketches to see how it handles. Looks good so far.

h1

Preview: Ceracolors Gel Medium

August 1, 2023

I am starting to experiment with a new product I found. This is a wax based medium made by the Natural Pigments company called “Ceracolors.” They describe this as a “water-miscible wax binder.” They sell it in a range of paints and mediums. I was particularly interested in buying some when I read their description of being able to use the gel medium to make your own paints. The order arrived yesterday, so I’ve only just started experimenting with the product.

After opening the jar, I see that the consistency is very soft and creamy, similar to acrylic gel mediums I own. It lays down on this dark cardboard very white and opaque. I heated the gel with a hairdryer for 3-4 minutes, and the wax started to harden, causing it to become more transparent, but still tacky to the touch. After about an hour the surface was soft and stiff, but had lost that tacky feel.

My first impression is positive. I like the feel of it, and it should make a nice paint. I’ll try that out in my next test. I should repeat that Natural Pigments also makes a good range of Ceracolor paints that are quite reasonably priced in large 50ml tubes. The drying time of this gel when undiluted is not a fast as gouache. or casein, or acrylics, and the gel dries about the same as acrylic gels I have, maybe a little slower. Because it’s wax based, there are no concerns about the thickness of the paint, as with gouache or casein; although, they do recommend painting on a firm surface. Also, because it’s water-miscible, it can be mixed with those types of paint. It did clean up easily with soap and water. I look forward to more experimenting with this.

h1

Using 3D Model Viewers for Sketching

July 7, 2023

These drawings were made using online 3D model viewers as reference. There are a wealth of different types out there that are free to use within your browser, or you can download the object file and view them in free or commercial 3D modeling software. The free viewers work fairly well, in general, but often have certain limitations. One of the best viewers I’ve found is at 3Dviewer.net that allows you to load a 3D object and arrange the camera view any way you like. A nice feature there is that you can easily pan the camera as well as zoom in and out, something most other online viewers don’t do. It does not show textures or lighting effects, however. There’s a site called Sketchfab that has a nice viewer as well as objects you can view or download. Their viewer doesn’t allow for camera pans, but there is a work around I found where you can double click a spot in their viewer with your mouse, and that will reset the point of view to that point. Sort of like panning, but not quite. If you’d like more control over the objects, camera, lighting, or adding textures then you should look at 3D modeling software. There’s a popular one called Blender that’s opensource and free, or several commercial ones on the market.

h1

New Painting: Hunting Sand Dollars

June 30, 2023

This is a new painting made in gouache. The surface is a a water putty plate 9 x 12″. It’s taken from a series of photos I made while down at Port Aransas a few years ago. They told me they were looking for sand dollars. It was challenging to get all the details into such a small image.

h1

Wood Support for Water Putty Panel

June 11, 2023

I wanted to attach a firm wood panel to the back of my recently completed painting that’s on a dried plate of wood putty. This plate, while reasonably strong, could still get damaged or chipped from handling, so the plywood will reinforce it and make it stronger. I found some maple sheets of plywood online from Columbia Forest Products that are 1/4″ by 12×19″ in a box of 10 for $50. My painting is 8.5 x 11.5, so I cut the plywood on my tablesaw to fit. I used an acrylic gel medium I had on hand to adhere the plate to the plywood. Different wood glues could have worked, but since the plate was a little bumpy on the back and of uneven thickness I figured the gel would help fill the gaps, The gel dried hard after a few hours.

h1

Preview: Holbein Soft Tape for Watercolors

June 10, 2023

Another new thing for me to test out is Holbein Soft Tape. It’s a low tack masking tape designed for wet media use. I’ve seen watercolor painters who recommended it, so I wanted to try it out. This roll is the 3/4″ width. I picked out some thin rag paper to tape down to a sheet of chip board, and used some thinned yellow ochre gouache and Dr. Martin’s blue ink on it.

The tape held rather well against a heavy diluted wash of paint and ink. The paper buckled as I expected, but the tape didn’t lift. I also put a small piece of tape in the paint area, and you can see above how the paint was masked cleanly. The outside edges are nice and sharp without any bleeds. The tape removed easily without tearing the wet paper. I did notice as I hit the wet paper with a hair dryer that the tape lifted from the heat after a few seconds. It was easy to press back down, but would probably lose adhesion if I did that several times. I still think I prefer using my binder clip method to stretch paper, but this was a quick and easy way to get started.

h1

Preview: Higgins Brush Pump Marker

June 8, 2023

I picked up a new toy, or tool, today. It’s a brush marker sold by the Higgins company. You shake the pen at the start, and pump or press the tip inwards to fill the point. They also sell it with a round 1mm tip or chisel shaped 2mm tip, and there is a water-resistant ink, or “Black Magic” version that is their water-proof ink. The Black Magic ones are a little more expensive. The brush tip is carved from a single foam or nylon I assume, not with individual hairs, so you won’t get a split hair mark. The markers can be refilled with more ink, so you can adjust the value by diluting the ink you put inside with water for wash effects.

The brush reminds me of the Pitt brush markers I have, which cannot be refilled, but this tip is a little longer. The body of this marker is also fatter than the Pitt, so it should hold more ink. There is a “Big Brush” from Pitt that is fatter, but the tip isn’t flexible. My favorite brush marker for sketching with ink has been the Pentel Aquash brush. We’ll see how this Higgins brush stands up to that as I put it through the paces.

Black Magic has always been a fairly consistently dark black shellac ink over the years, so it’s nice to get a refillable marker for that. I’ll be putting the brush through some drawings in the near future, and may pick up the other two markers at some point if I like this one. I may also get the other ink type in a brush tip, and put diluted ink in that, so I can have a dark and light shade on hand.

h1

Preview: Liquitex Recycled Canvas

May 20, 2023

I got this delivered to the studio this morning. It’s two canvas frames from the Liquitex company made out of recycled plastic bottles. There’s more information at this link. These are the “traditional” version stretched on 3/4″ wood frames. There’s also a thicker frame option, or loose rolls available. The surface looks and feels like woven canvas, but from what I can tell appears to be a pressed texture on a solid plastic sheet, rather than made by threads like a polyester canvas would be. The clue to this is on the back where the canvas is cut that shows no frayed edges that you would see if it was made with threads. I haven’t painted on this yet, but will post a review in the near future.

h1

Community Treasures Art Exhibit Award

May 6, 2023

My recent painting of the Santa Fe Hospital was hung in a local art exhibit. That’s it in the picture above, top row second from left. I was generously awarded an Honorable Mention for the piece.

My original plan was to have the work be a gallery wrapped canvas, but after reading their submission guidelines I saw that they required all entries to be in a frame. So, to stay close to the original idea, I made a tight fitting frame, and floated the canvas inside it.

h1

Painting Final: Portrait of Jason

April 22, 2023

Finished the new painting of my friend, Jason. This is in casein, 8×10″ on a water putty tile panel. I used several of my own mixed casein paints on this, and they worked well.